Manual: Body Build
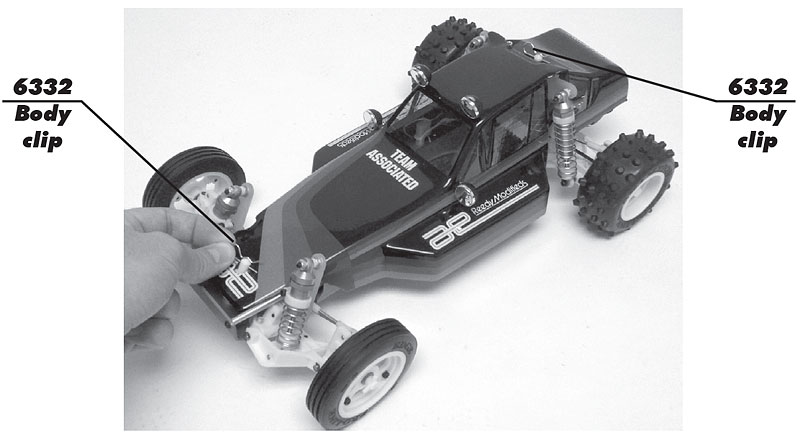
Body
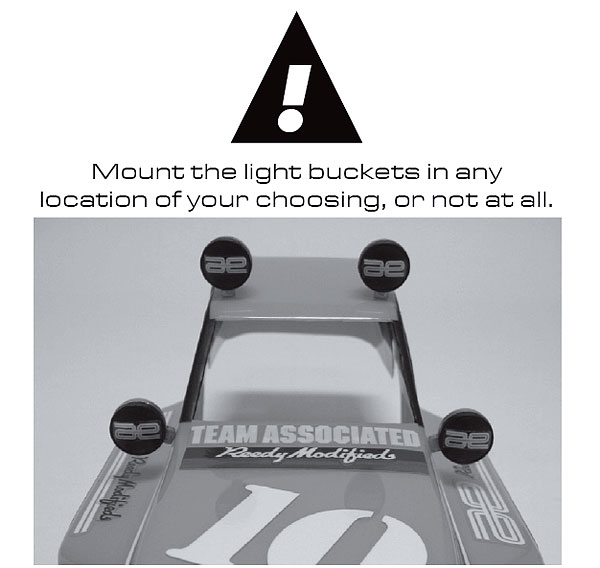
Light Buckets
Press the light bucket halves together. You can use CA glue if you would like.
You can paint or dye the light buckets to any desired color.
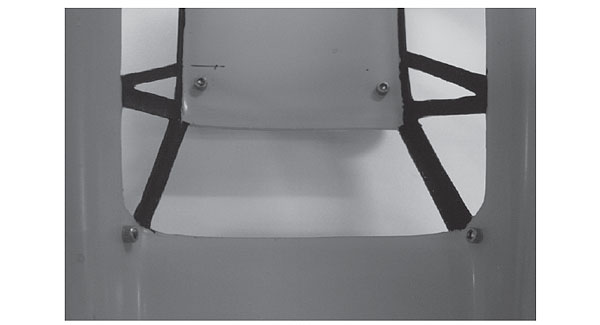
Install light buckets with #9898 SHCS in areas shown.

 Driver
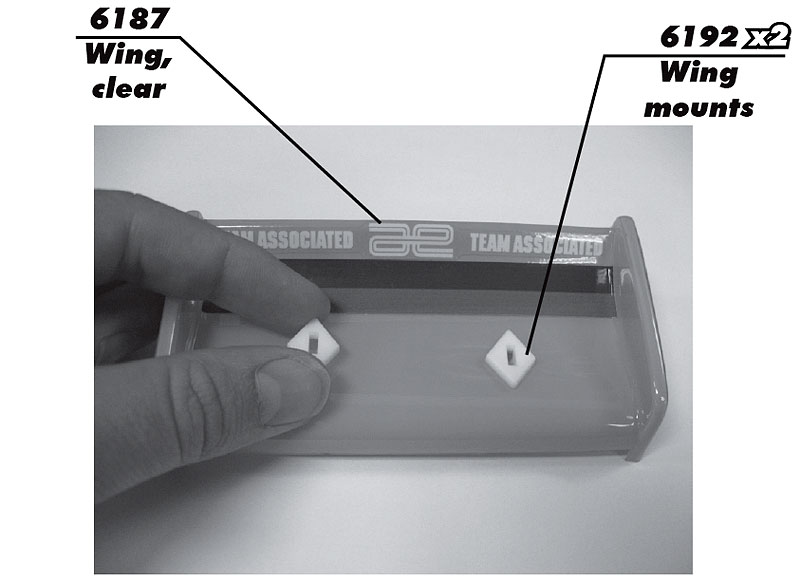
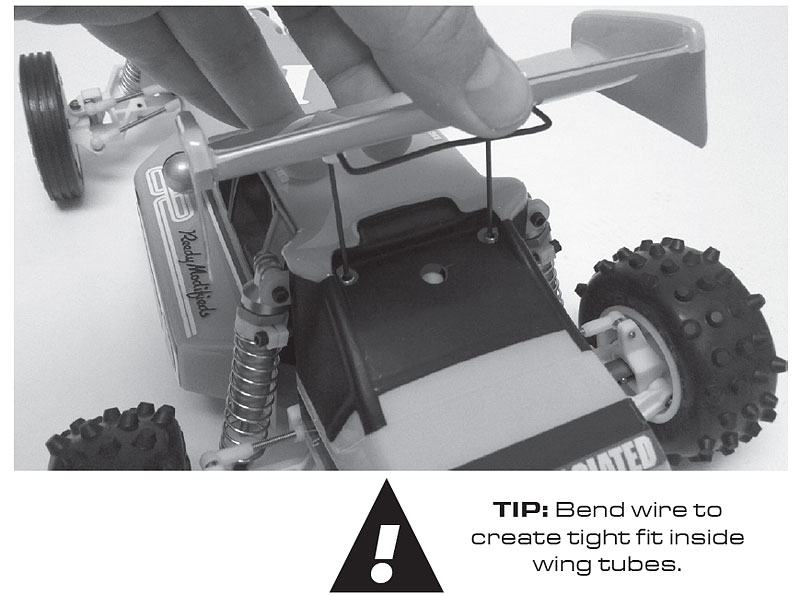
Wing
Driver
Wing
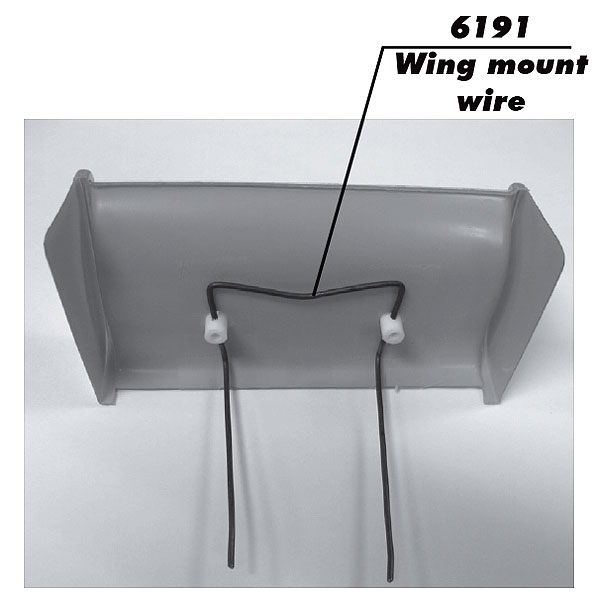
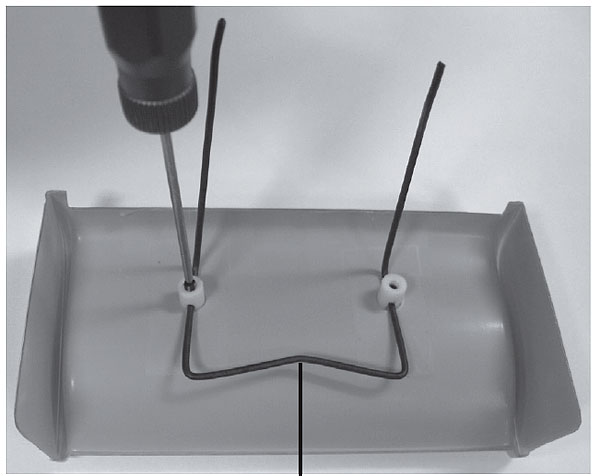
If the wing wire isn't parallel on both sides, then bending it in the middle where shown causes the buttons to rotate outwards and line up with each other.
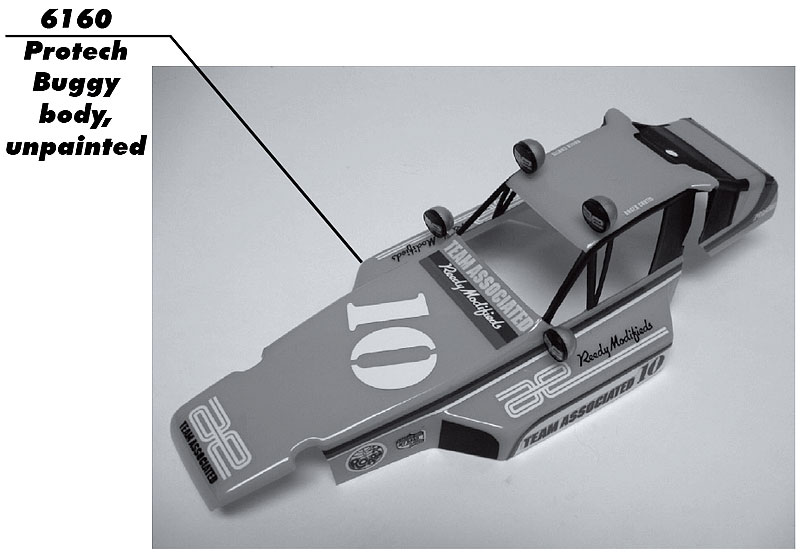
Painting Tips: Body and Wing
Your RC10 Classic comes with a clear polycarbonate body and wing. You will need to prep the body and wing before you can paint them. Wash the inside thoroughly with warm water and liquid detergent. Dry the body and wing using a clean, soft, lint-free cloth. Use high quality masking tape to make masks for the windows and install them on the inside of the body. (RC cars get painted from the inside). Using high quality masking tape, apply tape to the inside of the body to create a design. Spray (either rattle can or airbrush R/C specific paint) the paint to the inside of the body (prefferably dark colors first, lighter colors last).
NOTE: use ONLY paint that is recommended for use with (polycarbonate) plastics. If you do not, you can destroy the plastic body and wing!). After painting, cut the body and wing along the trim lines.
Make sure to drill or use a body reamer to make the holes for the body mounts, wing mounts, and antenna!
Press the light bucket halves together. You can use CA glue if you would like.
You can paint or dye the light buckets to any desired color.
Install light buckets with #9898 SHCS in areas shown.
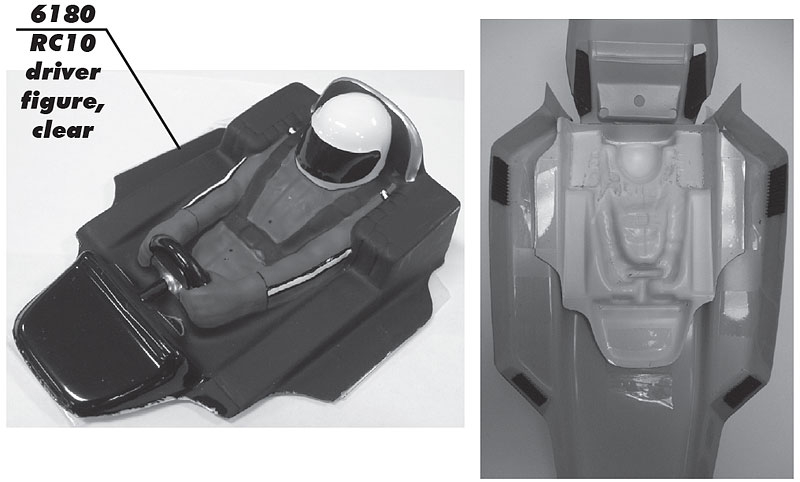
Painting Tips: Driver
Your RC10 Classic comes with a clear polycarbonate driver figure. You will need to prep the driver figure before you can paint it. Wash the inside and outside thoroughly with warm water and liquid detergent. Dry the driver figure using a clean, soft, lint-free cloth. The driver figure can be painted from the inside or the outside, depending on what type of finish you would like. If painted from the inside, the painted sections will appear glossy. If painted on the outside, the painted sections will appear flat or matte finished. Trim as shown and install inside the body using strapping tape. After painting, cut the body and wing along the trim lines.
NOTE: use ONLY paint that is recommended for use with (polycarbonate) plastics. If you don't, you can destroy the plastic body, driver figure, and wing!
If the wing wire isn't parallel on both sides, then bending it in the middle where shown causes the buttons to rotate outwards and line up with each other.